Want to look like a real Twitch streamer having a custom graphic or overlay? Well, you don't need to be a professional to actually look professional. Adding an image or an overlay to your stream is super easy!
Step 1: Make/find an image
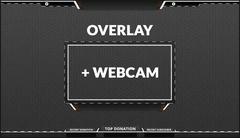
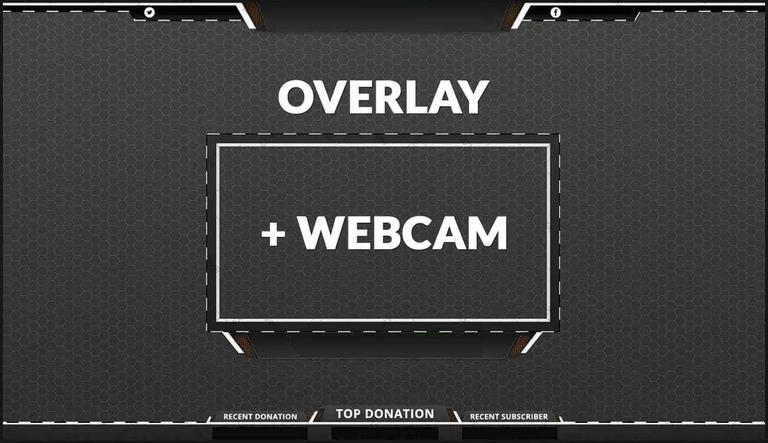
First of all, you have to decide what type of image you want to add to your stream. Is it a logo, a standalone image that covers one part of the screen? Is it an overlay, a frame, a border that covers the whole screen and surrounds your webcam, video game, and other sources?
For example, logos are a little easier to create from scratch. It’s because you don't have to work within the constraints of whatever game you'll be playing. You can just make an image using a free image editor like GIMP or Adobe Photoshop, without worrying about the game's interface or the sizing. PNG format is the best format to save your image in because any blank spots in the image will be transparent.
As for overlays, they can get a little complicated because they usually surround and improve the game's interface. They are often made for specific games. Overlays cover the entire screen and in this way must have transparent elements (PNG format) so your video feed and the game can show through.
If you wish to create your own overlay, it's wise to take a screenshot of the game you'll be playing because in that way you can make sure everything lines up correctly.
You also have to remember to make sure your overlay has the same dimensions as the screen you'll be playing on. For example, SteamPro is a free tool with a drag-and-drop overlay maker, and sites like Strexm and Twitch Overlay offer free overlays.
Step 2: Add the image to your scene
After you've finished making your overlay, logo or other image that you want to place on your Twitch stream, open Open Broadcaster Software and then select the scene you wish to add the image to.
Click "Browse" and choose your image.
The next step is to right-click inside the Sources box, then Add > Image. Give your image source a name and click Browse… in order to find the image, you want to use on your computer. If you really want the entire image to be semi-transparent, you have to set the Opacity to a number that is lower than 100. After you're done tweaking the setting of the image, proceed further by clicking OK.
Step 3: Move, reorder, and resize the image
Now, click Preview Stream so you can see what your stream currently looks like. You should be able to see your image and other sources that have been added to your stream as well.
In order to resize and move your image, you can choose one of the two ways to do it. If in the Sources box you right-click the image name, you can change the Order (move the image below or above other sources on the screen) or tweak the Position/Size.
In addition, you can manually move and resize your image by clicking Edit Scene. In the Sources box select the image and you will be able to manually drag it around the screen, as well as resize it by dragging the edges. In case you mess it up, resize your image incorrectly and want to start over, right-click the image in the Sources box and go to Position/Size > Reset Size. Then click Edit Scene to exit the editing feature